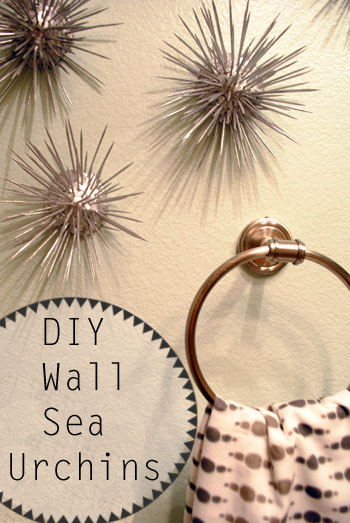
 I’m smitten with these little wall “sea urchins.” I typically go for framed photos or art for my walls so these guys are a nice change of pace.
(source)
They’re a bit whimsical and add a nice nature element to any space. I’m sorta surprised they can be incorporated into such elegant decor.
(source)
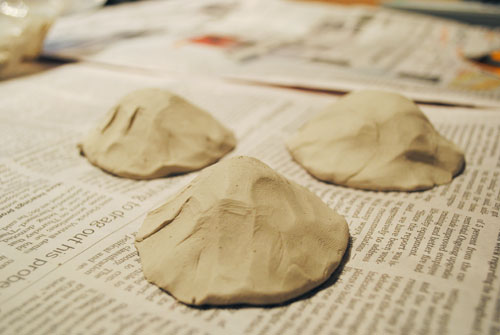
One thing I’m not smitten with is the price. $20 an urchin? No thanks. I had a lot of left over supplies from the last time I attempted a sea inspired decoration so I gave it a go. For this project I used clay, wire, toothpicks, wooden skewers, and spray paint. Asides from the spray paint I already had everything on hand I needed to complete this project—score!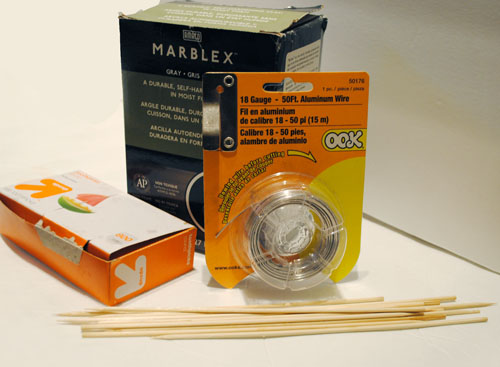 I started making little mounds of clay. I purposely went for a more organic shape.
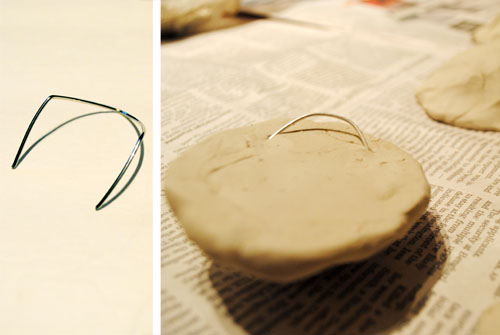
 Then I bent a bit of wire and inserted them into the back to create a little hook for hanging them on the wall.
 I started with my longer wooden skewers and stuck them into the clay mounds. To give more dimension, I built some clay up around the sides.
 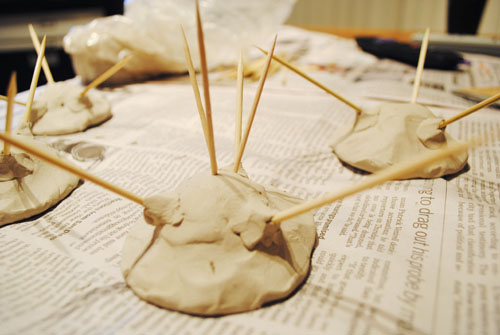 Then I filled in the surrounding clay with the toothpicks.
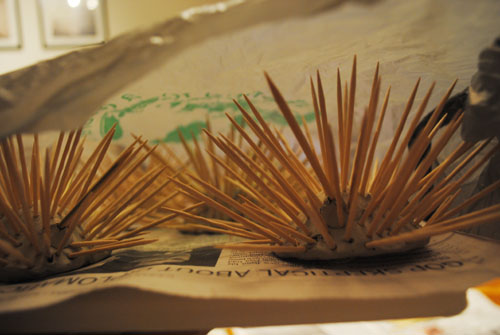
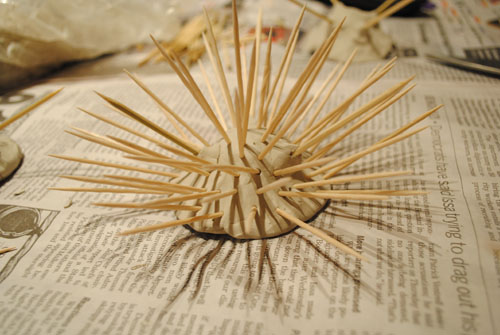 I had major cracking problems the last time I used clay which must have dislodged some clay wisdom I had stored in the back of my mind: cover your clay in a plastic bag to slow down the drying process. It took over three days of increasingly opening the bag before my little urchins were completely dry but guess what? No cracking here!
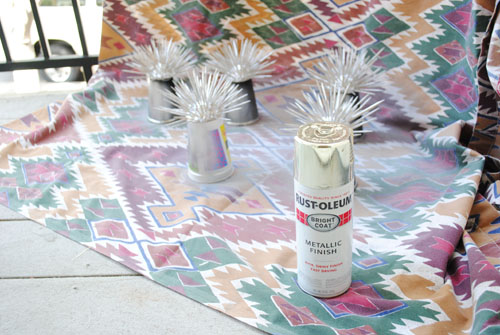
 I bought some gold spray paint and gave them a coat of paint. Only the paint was much more silver than gold—how did that happen? Make sure you rotate your creatures to get all the spines coated in paint.
 I didn’t really have anywhere in mind to put them so I put them in our upstairs bathroom for now.
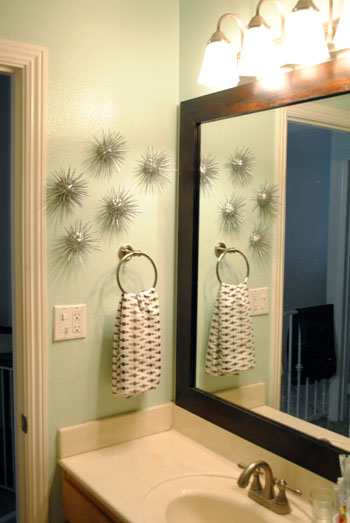 I haven’t really shared any photos of this bathroom yet because other than painting it (twice now) I haven’t done anything to decorate it. Next project maybe?
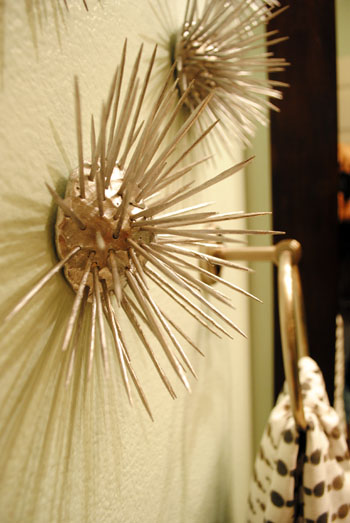 And here’s a close-up. If I were to re-do this project, I think I would have tried making smaller mounds of clay and maybe adding in even more toothpicks. Overall, it was a pretty simple project.
Linked to Alderberry Hill, Lines Across, Shabby Creek Cottage, House of Hepworths, Liz Marie Blog, The Girl Creative, Simply Designing, 733 Blog, Design, Decorating and Diapers.
Where would you arrange these sea urchins in your home and how?


May 28, 2013 at 8:02 am
These are so cute! ~M.
http://redesignedbym.wordpress.com/
May 24, 2013 at 11:17 pm
I would love for you to share and link up at my TGIF Link Party.
The party is open every Thursday night and closes Wednesday’s at midnight.
http://apeekintomyparadise.blogspot.com/2013/05/tgif-link-party-3.html
Hugs, Cathy
May 21, 2013 at 6:11 am
I saw those on Dana’s blog last week and thought the price was high as well. Love your DIY. #newfollower
May 20, 2013 at 12:18 pm
this is a fun idea….thank you
May 20, 2013 at 12:03 pm
Ooooh, I many need to ‘steal’ your idea. I love your diy take better than the real deal. Great job, as usual!
May 21, 2013 at 9:30 pm
I agree with Christine! Your creations take the cake…and I really think they look great in the bathroom, and they’re much less likely to cause casualties than if in a hall or living room wall where one might unknowingly lean back and…OUCH! :-) And I, too, have had gold spray paint look more silver. What the heck?
May 20, 2013 at 11:12 am
What a fun diy! I love those little urchins. And I’m in the same boat with my bathroom. It needs some major love.
May 20, 2013 at 7:32 am
They look great! I saw those over on House Tweaking the other day and thought they looked really cool. I like how yours turned-out. Nothing like a successful DIY!!
May 20, 2013 at 6:59 am
That’s pretty neat. Looks a lot like the original.